01
Installing wire shelving
The steps, in the order ClosetMaid's own instructions give them, with the numbers that make the load rating true.
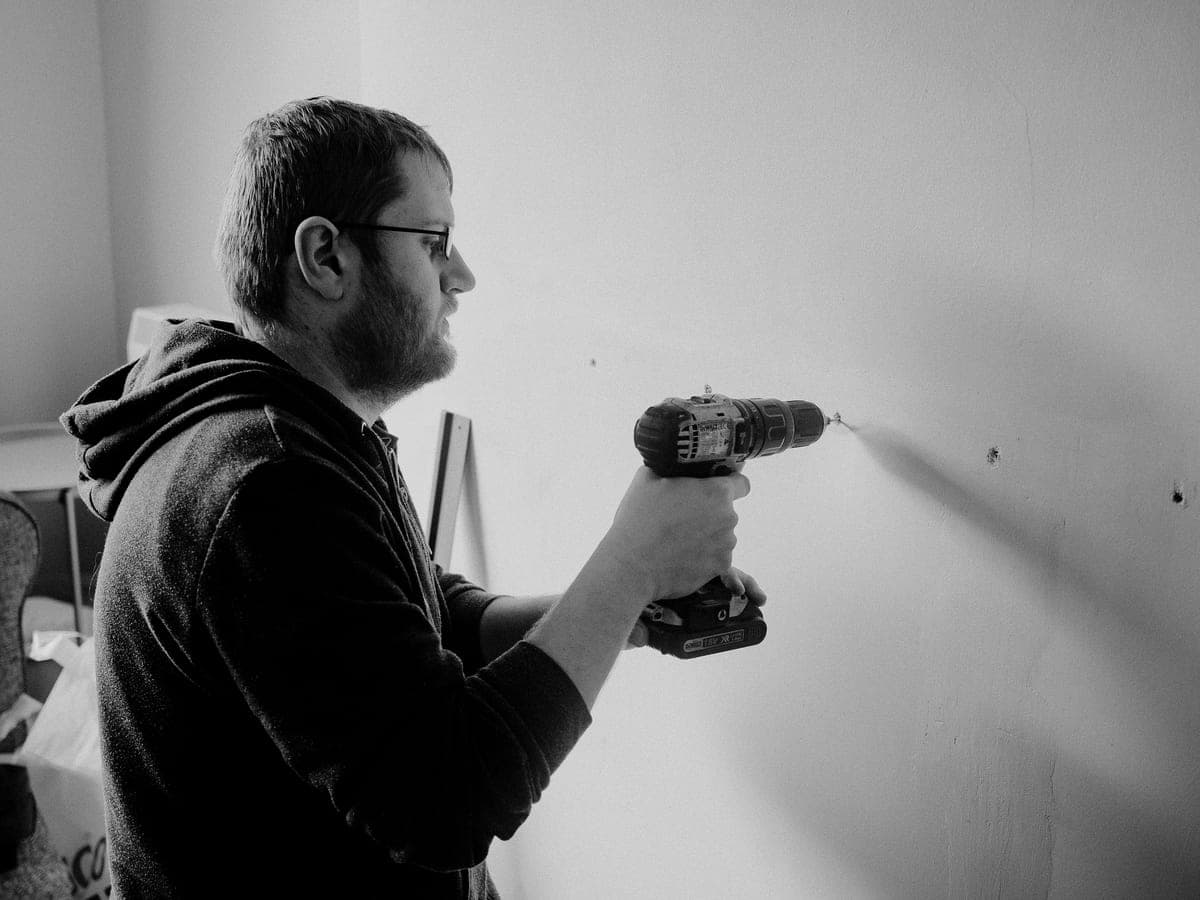
Install wire shelving in this order: mark studs, level and fix the hang track with at least three screws into studs, hang the standards no more than 24 inches apart, secure each standard to the wall, clip in brackets sized to the shelf depth, set the shelf, then add rod supports every 36 inches. The screw-into-stud counts are not advice — they are the condition ClosetMaid attaches to its published load rating.
Nearly every complaint about wire shelving is an installation complaint wearing a product costume. The shelf that droops was cantilevered past its last bracket. The system that pulled out of the wall never had three screws in studs. This page is the manufacturer's own sequence with those figures made explicit. The load figures themselves are compiled on shelf span and weight.
This page assumes the layout is already decided. If the closet is an empty alcove and the heights are still open, start with building a simple closet, which settles the four heights and the span rule before any hardware goes on the wall.
Before you start: the three numbers
| Figure | Value | Why it matters |
|---|---|---|
| Stud marking interval | Every 16 in for studs; every 8 in for drywall or concrete anchors | ClosetMaid's own marking guidance |
| Maximum standard spacing | 24 in apart | Limits the unsupported span between supports |
| Maximum end overhang | 4 in past the last standard | Cantilever past this is where a shelf droops first |
| Screws into studs, hang track | At least 3 | The load rating does not apply below this |
| Screws into studs, middle standards | At least 3 | Same condition |
| Rod support spacing | Every 36 in, plus each end | SuperSlide rod guidance; the rod is the first thing to sag |
Per ClosetMaid ShelfTrack Installation Tips and ClosetMaid's published product specifications.
The sequence, step by step
1. Mark the studs first, across the whole run
Not the first two — all of them, right across the closet. Where the studs are decides where the standards can go, and where the standards can go decides where the shelf can end. Doing this first turns the whole job into arithmetic instead of a series of surprises.
Mark every 16 inches for studs. If the closet turns out to be on 24 inch centers, read the caveat in shelf span and weight before you continue — Rubbermaid states plainly that maximum rated capacity is not achievable at that spacing, and the same physics applies to any wall-hung system.
2. Level the hang track line before drilling
The hang track sets the level for everything below it. A track that is a quarter of an inch out over six feet produces a shelf that visibly slopes, and there is no adjustment further down the system that corrects it.
3. Fix the track with at least three screws into studs
This is the step the load rating is about. ClosetMaid's instructions ask for at least three screws hitting studs in the hang track and three in the middle standards for the kit to be considered properly installed and to have its guaranteed weight-holding capacity. Anything less and the published figure is not a claim about your closet.
4. Hang the standards, 24 inches maximum
No more than 24 inches apart, and no more than 4 inches from the end of the shelf. If the studs will not give you both, prioritize the end rule — a long span in the middle sags slowly, but an overhung end sags visibly and fast.
5. Secure each standard to the wall
Each standard takes a screw at the hole closest to its center. This is easy to skip because the standards already hang from the track and feel secure. They are not: without it, the bottom of the standard swings out under load and the shelf tilts forward.
6. Match the bracket to the shelf depth
ClosetMaid sells wire shelving in 12 inch and 16 inch depths, and brackets to match. A 12 inch bracket under a 16 inch shelf leaves four inches unsupported at the front, which is exactly where you will put the heavy thing.
7. Level the shelf, then load it
Check along the length before anything goes on it. It is a two-minute check and the alternative is discovering the problem when it is full.
8. Add rod supports every 36 inches
One support every 36 inches of hang rod, and one at each end of the shelf and rod. On SuperSlide the support clears the rod so hangers still slide past it, which is the reason to use the matched part rather than a generic bracket — see closet rods.
Some of those mistakes are avoidable by choosing a system that asks less of you in the first place - the systems ranked by what they require are on best DIY closet systems.
The system these steps most often apply to is ClosetMaid ShelfTrack, whose published spacing limits decide where the standards go. Those figures are on our ClosetMaid ShelfTrack review.
The mistakes that produce the complaints
- Anchors instead of studs. The published load ratings assume studs. Every manufacturer here says so, and it is the single biggest cause of a system coming off a wall.
- Overhanging the last standard. Four inches is the published limit. A foot of unsupported shelf at the end of a run will take a permanent set.
- Wrong bracket depth. A 12 inch bracket under a 16 inch shelf is a cantilever at the front edge.
- Skipping the standard's own wall screw. It feels secure hanging from the track. It is not.
- Cutting the shelf before checking the standard positions. Cut last — see cutting wire shelving for the reason and the method.
FAQ
Questions people ask about this
Do you need to hit studs when installing wire closet shelving?
For the published load rating, yes. ClosetMaid asks for at least three screws into studs in the hang track and three in the middle standards for the kit to be considered properly installed with its guaranteed capacity. You can fit it with anchors alone, but the manufacturer's figure no longer describes your installation.
How far apart should wire shelving standards be?
No more than 24 inches apart, and no more than 4 inches from the end of the shelf, per ClosetMaid's installation instructions. Both limits matter — the end limit is the one people miss and it causes the visible droop.
What order do you install wire shelving in?
Mark studs, level and fix the hang track, hang the standards, secure each standard to the wall, clip in the brackets, set the shelf, then add rod supports. Cutting the shelf comes last, after the standard positions are fixed.
How high should you mount the hang track?
It depends on the rod arrangement you want below it. Work backwards from rod height: a single rod at 66 to 68 inches, or a double hang at about 40 to 42 and 70 to 84 inches. See our reach-in dimension table for the full set of figures.
Can one person install wire closet shelving?
Yes for a short run. On a six-foot-plus run a second pair of hands makes leveling the track much easier, and the track is the step where an error cannot be corrected further down.
Sources
Where these figures come from
- ClosetMaid, ShelfTrack Installation TipsStandard spacing, end clearance and the screw-into-stud requirement the load rating depends on.
- ClosetMaid, Wire Shelving Specifications (rev 6/12)Depth options, bracket and standard load figures for the ClosetMaid wire ranges.
- ClosetMaid published product specificationsSuperSlide and Shelf & Rod depth options and rod-support spacing.
- Rubbermaid, FastTrack Rail and Shelving Installation GuideRail load rating, stud-count requirement per rail length, and anchor spacing between studs.
- What is not a source hereWe have not handled these products. Nothing on this page is a test result, and no figure comes from a retailer listing, another publisher, or memory.