01
Cutting wire shelving
Seven steps, the right tool named in the first one, and the cut position that decides whether the end of your shelf is usable.
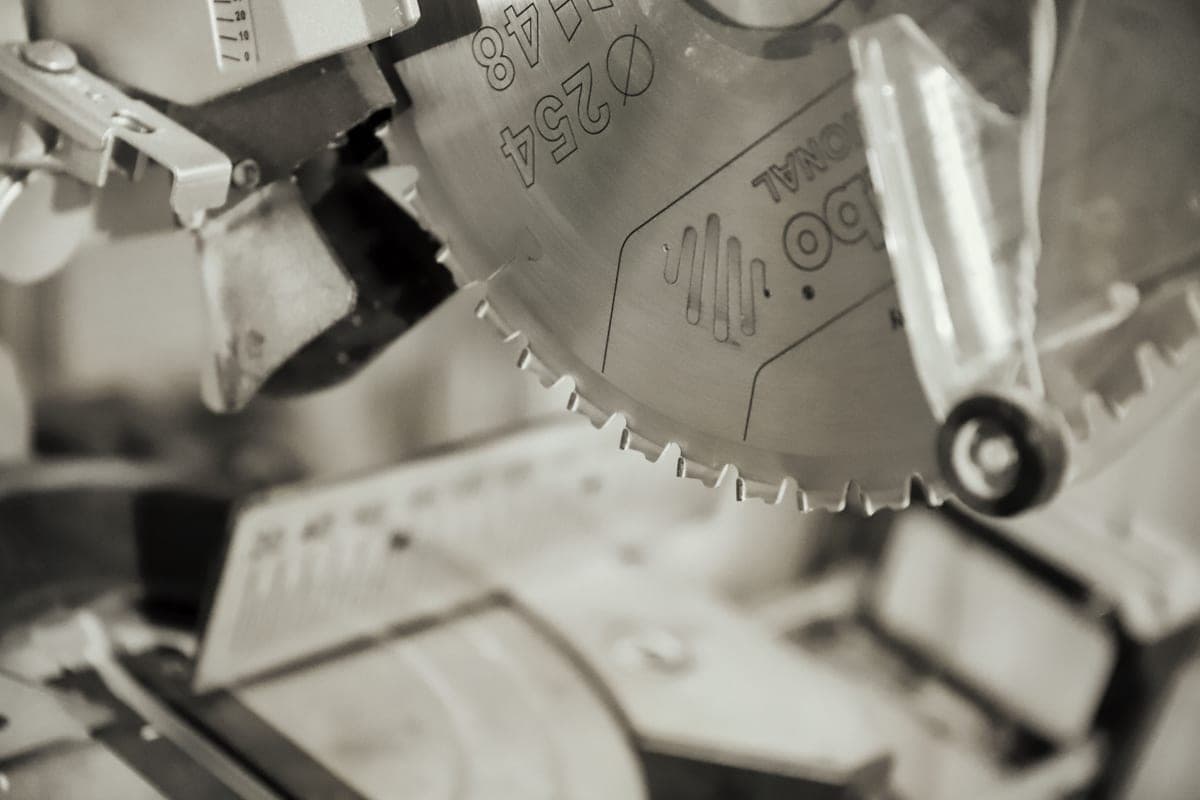
Cut wire shelving with a bolt cutter for speed and a hacksaw for a square finish, and cut it last — after the standards and brackets are already on the wall. Position the cut so the last cross wire is no more than about 4 inches from the new end, which matches ClosetMaid's own limit on how far a shelf may overhang its last support. File the cut ends square, particularly on the heavy front rail.
Cutting a wire shelf is not difficult. Cutting it in the wrong order is what wastes the shelf, because the shelf's usable length is defined by where your standards ended up, and your standards are defined by where the studs are. See installing wire shelving for the sequence this step sits at the end of.
The seven steps
- Get the right tool out. A bolt cutter handles the cross wires and the back rail quickly. The front rail is a heavier section and a hacksaw gives you a square end there, which matters because it is the edge you and your clothes will touch. Using only a bolt cutter leaves a crushed, oval end on that rail.
- Fit the hardware first, then measure. Install the standards and brackets, then measure the shelf against what is actually on the wall. A closet wall is rarely square, and the number that matters is the distance between fitted brackets, not the width of the opening.
- Mark the cut with the cross wires in mind. ClosetMaid's limit is a maximum of 4 inches of shelf past its last support. Position your cut so the last cross wire is inside that, or the end of the shelf will flex under anything you put there.
- Support both sides of the cut. As the offcut separates it will drop, and its weight will bend the rail you are keeping if that rail is unsupported. A helper, or a workbench with the shelf clamped on both sides.
- Cut in order: cross wires, back rail, front rail. The front rail carries the shelf, so cut it last, when everything around it is already free and nothing is under tension.
- File every end square. The front rail especially. An unfiled wire end catches knitwear, and it will find the one jumper you care about.
- Test-fit before finishing. Set the shelf on its brackets, check the fit, then paint the cut ends or fit end caps. Painting first means doing it twice.
Tool comparison, honestly
| Tool | Speed | Edge quality | Verdict |
|---|---|---|---|
| Bolt cutter | Fast | Crushes the tube slightly; oval end on the front rail | Best for cross wires and the back rail |
| Hacksaw | Slow | Square and clean | Best for the front rail; slow but correct |
| Angle grinder with a cut-off wheel | Very fast | Clean, but burns the coating back from the cut | Works, but strips the vinyl coating and invites rust at the end |
| Reciprocating saw with a metal blade | Fast | Ragged unless clamped hard | Workable, but the shelf must be clamped on both sides |
This is a comparison of tool behavior on coated steel wire shelving. We have not conducted a cutting test — this reflects how each tool works on this material.
The cut position rule, spelled out
Wire shelving has cross wires at intervals along its length. Those cross wires are what stops the two long rails splaying apart. Cut too far past the last one and you have two unbraced rails sticking out — they spread, and the shelf loses its grip on the bracket at that end.
That is the same physics as ClosetMaid's 4 inch end-support limit, which is why the two figures line up. Plan the cut so the last cross wire and the last bracket are both close to the new end. If your measurement puts the cut a long way past the last cross wire, move a standard rather than accepting it.
Finishing the ends
- File square first, then smooth. A round file for the tube ends, a flat file for the cross-wire stubs.
- Touch up the coating. Cut steel under a vinyl coating will rust in a humid closet or a pantry. Any enamel touch-up paint works.
- Fit end caps if the kit supplied them. They are usually the last thing in the bag and they are the difference between a finished shelf and a cut one.
FAQ
Questions people ask about this
What tool do you use to cut wire closet shelving?
A bolt cutter for the cross wires and back rail, and a hacksaw for the heavier front rail. The bolt cutter is fast but slightly crushes the tube; the hacksaw leaves the square end you want on the rail your hands and clothes touch.
How do you cut a closet wire shelf to size?
Fit the standards and brackets first, measure against the fitted hardware, mark the cut so the last cross wire sits within about 4 inches of the new end, support both sides of the cut, cut the cross wires then the back rail then the front rail, and file the ends square.
Can you cut wire shelving with an angle grinder?
Yes, and it is the fastest option, but it burns the vinyl coating back from the cut. That leaves bare steel at the end, which will rust in a humid closet or pantry unless you touch it up with enamel.
How far can a wire shelf overhang its last bracket?
ClosetMaid's published limit is 4 inches. Beyond that the shelf cantilevers and takes a permanent set under load, which is the classic drooping end you see on old closet shelves.
Should you cut wire shelving before or after installing the brackets?
After. The usable length is set by where the standards ended up, which is set by where the studs are. Measuring against the opening rather than the fitted brackets is the most common way to waste a shelf.
Sources
Where these figures come from
- ClosetMaid, ShelfTrack Installation TipsStandard spacing, end clearance and the screw-into-stud requirement the load rating depends on.
- ClosetMaid, Wire Shelving Specifications (rev 6/12)Depth options, bracket and standard load figures for the ClosetMaid wire ranges.
- What is not a source hereWe have not handled these products. Nothing on this page is a test result, and no figure comes from a retailer listing, another publisher, or memory.